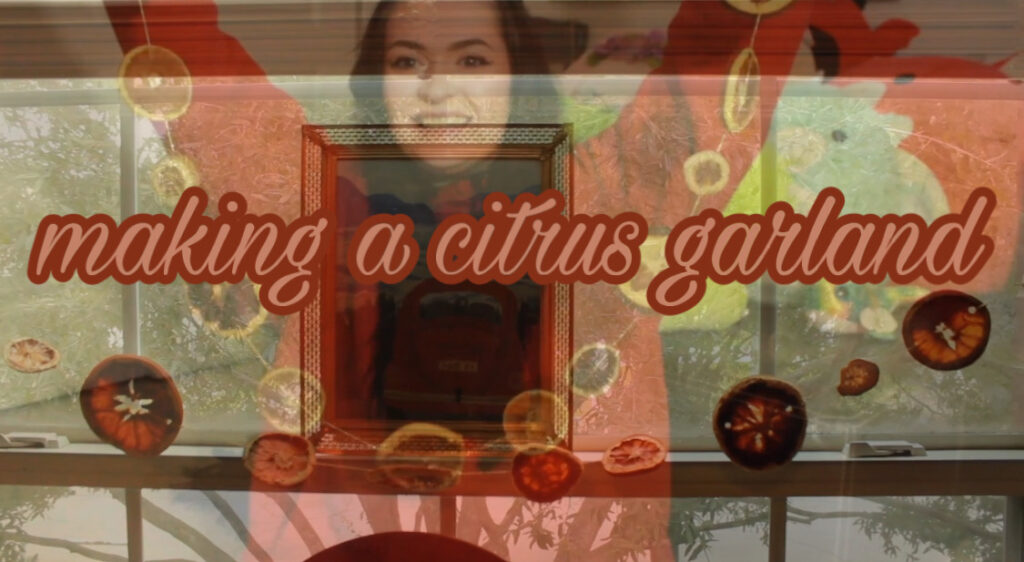
In a world of consumerism more and more people are trying to find ways to reign in the holiday season without buying more unnecessary junk that will most-likely end up shoved in a forgotten box. DIY (Do It Yourself) crafts are a great way to not only add to your decor collection without breaking the bank but also the process of making them is a holiday activity all in itself. This easy to make citrus garland is the perfect way to mark the season.
This post contains links to products that I have researched or used that I think you would enjoy based on the article you are reading. I used to be an Amazon Affiliate to receive a commission. I am no longer apart of the program but I still wanted to share these products because I truly believe in them and think they will come in handy! Using my links to purchase is no extra cost to you!
To watch my YouTube Video of me making my very own citrus garland click here.
The History & Meaning Behind the Citrus Garland
Fruits in general are a symbol of prosperity. Oranges in particular are associated with good luck, joy and creativity. A perfect stepping stone for ending the year and starting anew.
Oranges have many roots in wintertime culture. Some people have a tradition of putting and orange in their Christmas stockings as to represent gold from St. Nick. In the Great Depression they were also seen as a symbol of wealth since most families could not afford them throughout the year, they would splurge during the holidays.
Another theory which I find adorable is how they exemplify the season of giving because of how easy it is to separate the slices in order to share. This one made me smile because I thought back to how many times I’ve shared and orange with someone over the years. I really love the little things that humans do.
The garland specifically can be traced back to many origins as well. One being pagan, during the times of the Romans when they celebrated the mid-winter holiday of “Saturnalia” which honored the Roman god Saturn.
The first Christmas Trees which were said to have originated in Germany were also decorated with garland. Not only made of oranges but of other dried fruits that famers could easily dry and sell in the off season for use of decorations.
I feel like knowing the meaning and symbolism of what we are creating makes it that much more special to make. I’m a big believer in symbolism.
SUPPLIES NEEDED TO MAKE A CITRUS GARLAND
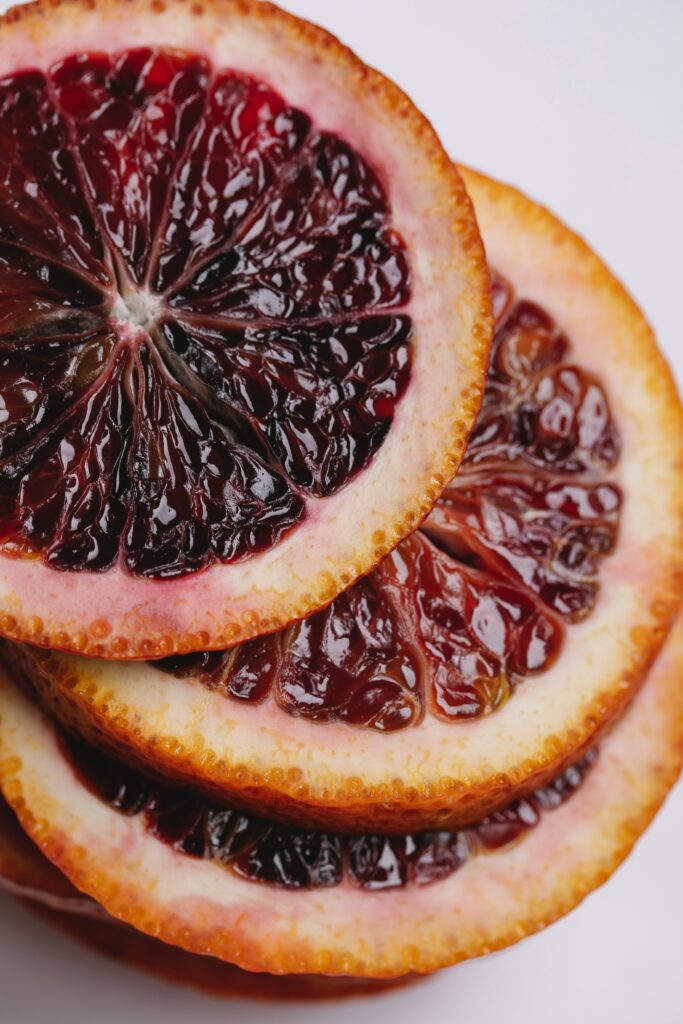
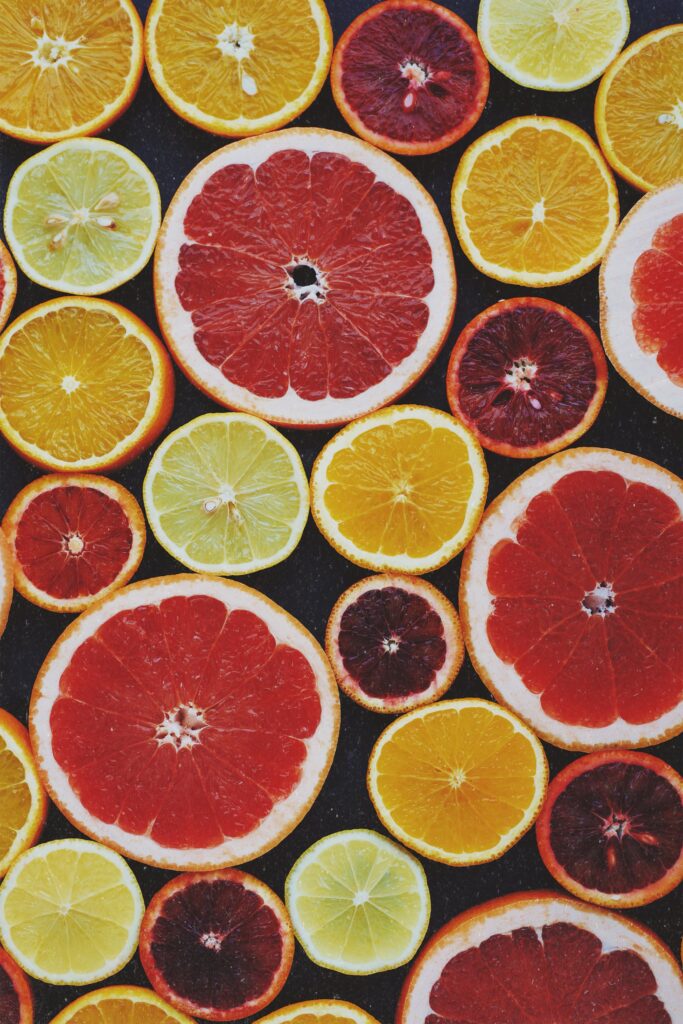
- Citrus – I picked an orange, a grapefruit and a lemon because I wanted to have different shades and shapes, but it’s totally up to you! One average sized orange should give you 4-6 slices each so buy according to how long you want your garland to be.
- Twine/String/Yarn – You’ll need this to attach your citrus slices together. If you are going to compost make sure you get twine that is compostable!
- Sewing Needle/Tweezers – You’ll need these to puncture your citrus spheres to get the twine through more easily. I used tweezers but a Sewing Needle would have been way more efficient.
- Baking Pan – Gotta have something for them to bake on to dehydrate.
- Parchment Paper – This is optional because I have seen others go without. I used it so I’m including it here.
- Oven – I used a regular oven to bake mine. I’m sure it would work with a toaster oven or other appliances but that’s not what I’ll be focusing on in the article.

Now that you have all of your supplies you can get started on the dehydration process.
HOW TO DEHYDRATE CITRUS IN THE OVEN
- Preheat your oven to 200°F – You don’t want it too hot because they will burn.
- Slice your Citrus – AVOID MY MISTAKE. My disks took much longer than needed to dehydrate because I did thicker slices. Try to make your slices as thin as possible!
- Remove excess water from your slices – This is another step I feel I could have done more thoroughly. The more moisture your get out before baking the faster they will dry up in the oven. Grab a towel, paper or cloth, and soak up as much as you can!
- Line the baking pan if you are using parchment paper – If not go ahead and arrange your slices on the baking pan.
- Bake for 4-5 hours – It is recommended to flip your slices every 30 minutes to avoid burning and cook evenly.
Since I made my slices quite thick and I don’t believe I soaked up as much moisture as I could have, my citrus took over 8 hours to dry! So make sure you make thin slices and dry them as best you can to avoid waiting extra time.
The slices should not feel gummy or wet at all. If you leave moisture they may develop mold which I’m sure we all would want to avoid!
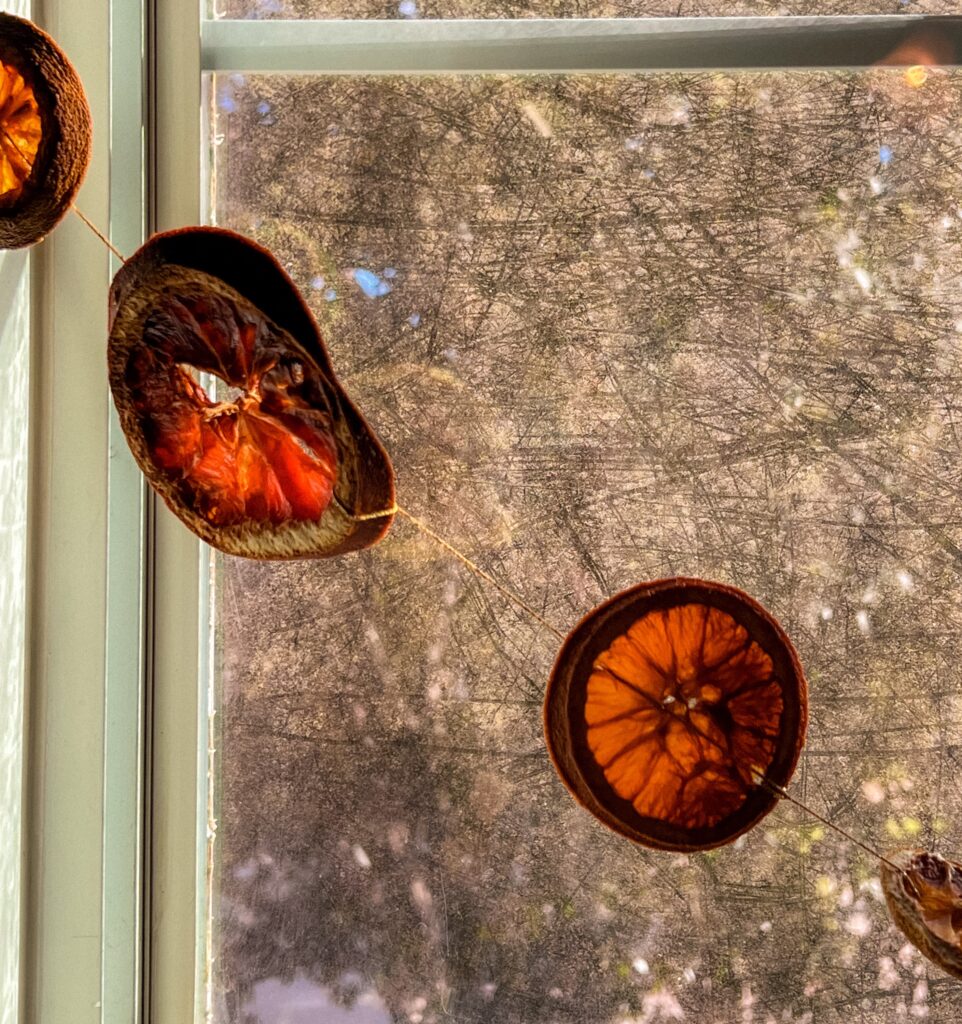
Now it’s finally time to assemble your garland!
ASSEMBLING THE GARLAND
- Poke holes on either side of each slices’ midpoint.
- Take your twine and run it through each hole weaving in and out, making sure to have the twine on the backside of each orange. This step is hard to explain, I highly recommend watching my youtube video if you are unsure how to proceed. The visual is very helpful! Click here to watch.
- Alternatively if you have a sewing needle, you could attach the twine/string to that to make the process easier. I didn’t want to buy a sewing needle just for this project so I used tweezers to help me poke holes and pull the string through to hand-wove.
- In this step, you also have the option to add other decorations and adornments to your garland. Popular options are pine cones, pine needles and cinnamon sticks.
- Once you are done weaving tie at the end to secure and you’re done!
Now sit back and enjoy.
Even though this project took much longer than I anticipated (my own fault!) it was so worth it!
I put mine across my office window because that area always catches the light so well which makes the colors really pop.
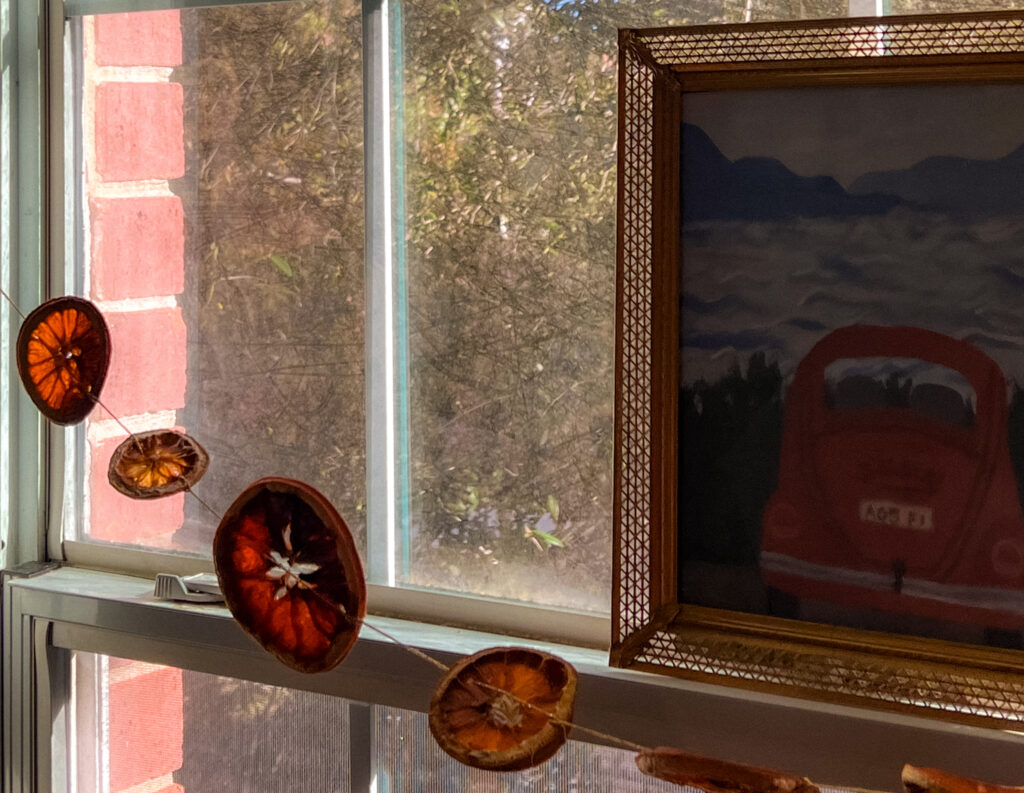
I love looking at it while I work. It’s nice when I’m creating a blog post (like this one!) and looking up at something else I’ve created. It gets my creative juices flowing and motivates me to do more! I have pride in my little creation and it makes the space so much cozier and more festive. Not to mention the subliminal affect of knowing what the citrus garland symbolizes: good luck, prosperity, joy, and creativity.
Storing Your Garland
When you’re done with your garland you can choose to store it for next year or just add it to your compost to reduce clutter.
If you choose to store it, I recommend wrapping it in tissue paper and keeping it in a dry, cool, area.
If you choose to compost, make sure you use 100% compostable supplies in your garland.

Let me know what you think and also if you decided to try it out yourself!
I’d love to see your creations. Tag me on instagram @peachypapillon so I can check them out!
My name is Terran, and I love writing about how to improve one’s life through self-care, following your passions and surrounding yourself with the things you love. Subscribe to my email list to receive updates when I post and follow me along on the journey to a fulfilled, happy life.
If you enjoyed this post, please support me by sharing or leaving a comment below! Thank you for reading <3